Apple Developer Accounts

Follow these steps
Before you start
Make sure you have all these details:
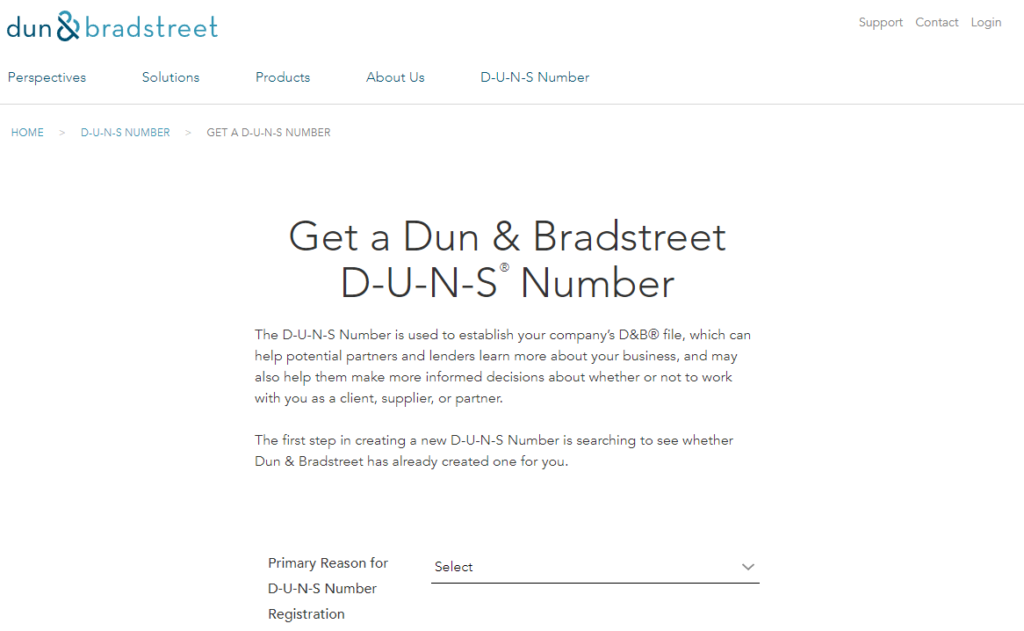
- DUNS number (see below)
- Apple ID (see below)
- Legal business/company name
- Your company website address
- A contact phone number (Apple may call you to verify your enrolment)
- An email address to use for the account registration.
Find your DUNS number

Register for an Apple ID
Click here to learn how to register for an Apple ID if you do not have an existing Apple ID. Ensure your Apple ID has been registered and confirmed before you begin enrollment.
How to get set up
Enroll for an Apple Developer account
- Click hereto start your enrollment for an Apple Developer account. Please note you will need to use Edge, Chrome, Safari, or Firefox browsers to access this link.
- Select “Company/Organization” as your account type. We will not be able to submit your app under an Individual or Enterprise
- Complete and submit the enrollment forms.
- Wait for Apple to call or email you to verify your enrollment information.
- Apple should send you a confirmation email. If not, please call Apple.
- In the confirmation email from Apple, you will receive steps to pay for your Apple Developer Program membership. Please ensure you follow these steps to ensure your enrollment is successful.
Invite Shortcuts to your account
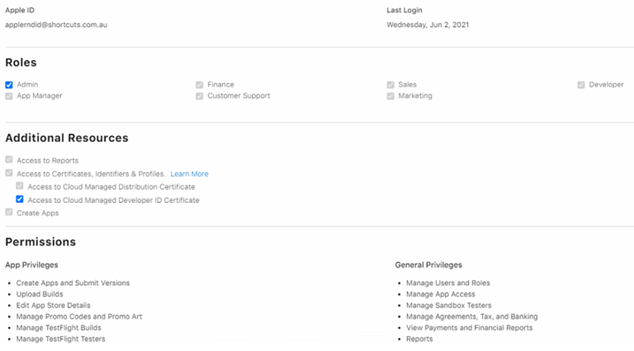
- Once you have completed all the steps above, and your enrollment is complete, please invite Shortcuts as an admin to your account. (This is necessary for Shortcuts to keep your app up-to-date and functioning properly. Admin access is necessary in order create push certificates and provisioning profiles, both of which are needed to submit and maintain your app).
- Now click here to invite Shortcuts as an Admin to your App Store Connect account.
- Click the “+”
- In the “First Name” field, fill in: In the “Last Name” field, fill in: Software.
- Under “Email”, fill in: applerndid@shortcuts.com.au
- Select “Admin”as the role.
- Check all the “Access to Certificates, Identifiers & Profiles” boxes.
- Click the “Invite”button at the bottom.

That’s it – you’re all done!